Photographing the Northern Lights, or Aurora Borealis, is a captivating pursuit that challenges even the most seasoned photographers. The dancing waves of green, pink, and violet offer a spectacle like no other, enticing artists to capture their ephemeral beauty. To effectively photograph this celestial phenomenon, understanding both the technical and environmental aspects is paramount. Here, we explore the techniques used by experts to immortalize the Northern Lights and how you can incorporate these methods into your own artistic ventures.
Understanding the Phenomenon
Before delving into the technicalities, it’s vital to understand the Northern Lights themselves. They are the result of collisions between gaseous particles in Earth's atmosphere with charged particles released from the sun. The colors are influenced by the type of gas involved in the collisions, with oxygen at lower altitudes producing the more common pale green and nitrogen responsible for purples, blues, and reds.
Optimal Conditions for Photography
Timing is everything when capturing the Northern Lights. Peak auroral activity typically occurs during the winter months of September to April in the northern hemisphere. Locations at high latitudes, such as Norway, Iceland, and Alaska, offer some of the best viewing experiences. Dark, clear skies away from light pollution are essential, and a new moon increases visibility by providing a darker backdrop.
Technical Equipment and Settings
-
Camera and Lenses: A DSLR or mirrorless camera with manual mode capability is required to effectively capture the Northern Lights. Wide-angle lenses are preferred as they allow more of the sky to be captured in the frame. A focal length of 14-24mm is ideal, with a fast aperture of f/2.8 or wider to let in more light.
-
Tripod: Essential for stability during long exposure shots. Tripods reduce the risk of camera shake, ensuring sharp images.
-
Remote Shutter Release: A remote or cable release is crucial to prevent any movement when pressing the shutter button, further minimizing blur.
-
Exposure Settings: Long exposure is necessary to capture the full majesty of the aurora. Start with an ISO setting of 800 to 3200, depending on camera capability, an aperture of f/2.8 or the fastest your lens allows, and a shutter speed ranging from 5 to 25 seconds based on the strength and movement of the aurora.
Composition and Creativity
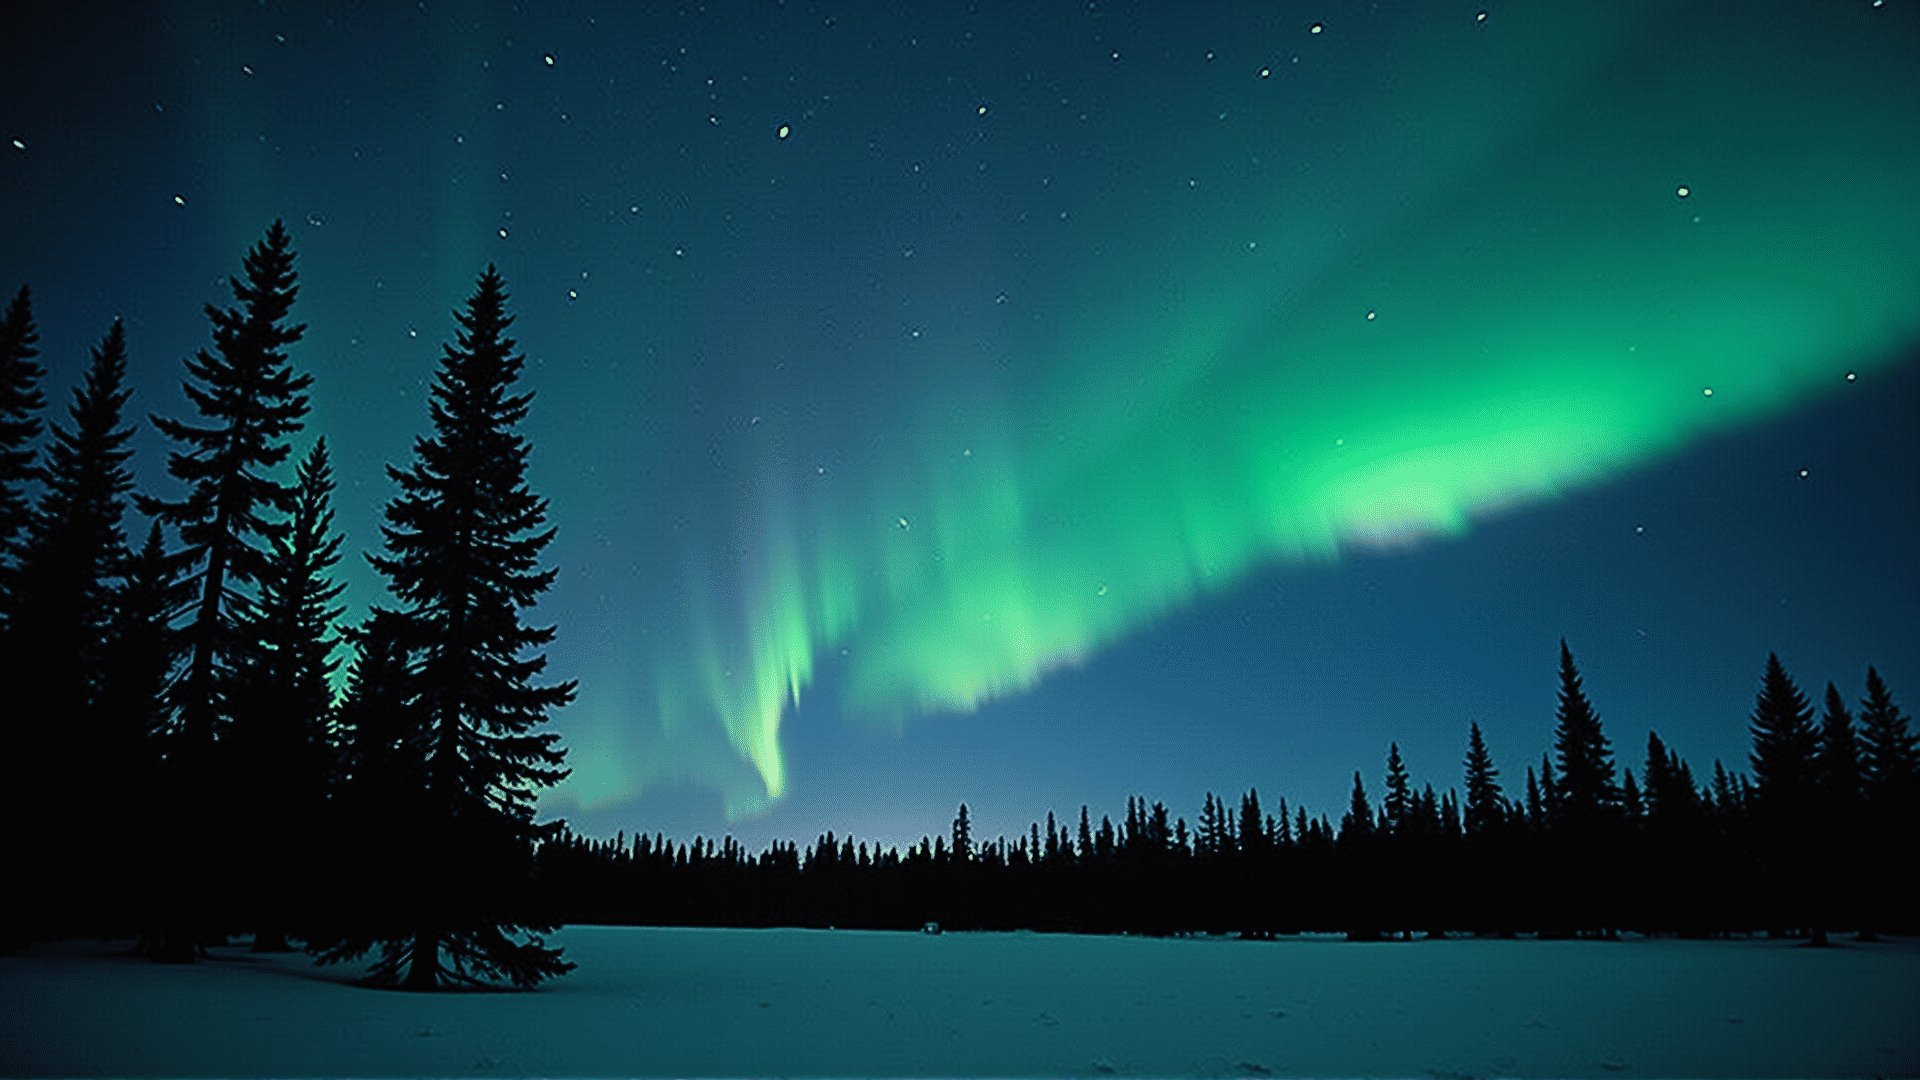
While technicality is fundamental, so is creativity in composing your shots. Consider including terrestrial elements such as trees, mountains, or water bodies to add intrigue and scale to your photos. Reflective surfaces like lakes can mirror the lights for a dual perspective. Exploring different angles and observing the aurora's movement can yield unexpected compositions, bringing a personal touch to your work.
Post-Processing Techniques
Post-processing is a crucial step in highlighting the beauty of your Northern Lights photos. Software like Adobe Lightroom and Photoshop can enhance colors and sharpness. Adjust the white balance to ensure the colors are true to life and consider fine-tuning the contrast and brightness to amplify details in the sky and foreground.
Incorporate These Techniques into Your Art
The techniques used to photograph the Northern Lights can be applied across different art forms. Whether you are a painter, digital artist, or mixed media creator, understanding lighting, color dynamics, and composition can enhance your artistic expression. Consider experimenting with the interplay of vibrant colors and contrasts in your work, drawing inspiration from the vivid auroral displays.
By mastering these techniques, artists can not only capture the mesmerizing beauty of the Northern Lights but also apply these insights to broaden their creative horizons, offering viewers a glimpse into the natural wonders that inspire them.